How I Cleaned My Sony A6000 Camera Sensor: A Step-by-Step Guide
During a recent trip, I was eager to capture the beautiful landscapes and vibrant scenes. However, when I reviewed my photos, I noticed annoying spots scattered across the images. It became clear that my Sony A6000 camera sensor had accumulated dust or debris. As a photographer, these unwanted spots were a distraction I couldn’t ignore. Here’s a step-by-step account of how I tackled this problem, from basic cleaning methods to using a dedicated sensor cleaning kit.
Discovering the Problem: Spots on My Photos
The issue became apparent when I noticed several spots on my photos, especially visible in shots with clear skies or light backgrounds. These spots were consistent across different photos, indicating that the problem was with the sensor, not the lens.


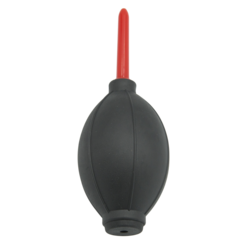
First Attempt: Using a Dust Blower
My initial reaction was to use a dust blower, a simple yet effective tool for removing loose dust particles from the camera sensor.
Steps:
- Turn Off the Camera: It’s important to turn off the camera to reduce the static charge that attracts dust.
- Remove the Lens: Detach the lens from the camera body to access the sensor.
- Use the Dust Blower: Hold the camera with the sensor facing down and use the blower to gently puff air onto the sensor. This position helps any dislodged dust to fall out of the camera.
Result:
After using the dust blower, I took some test shots. While some of the spots had disappeared, others remained stubbornly on the sensor.

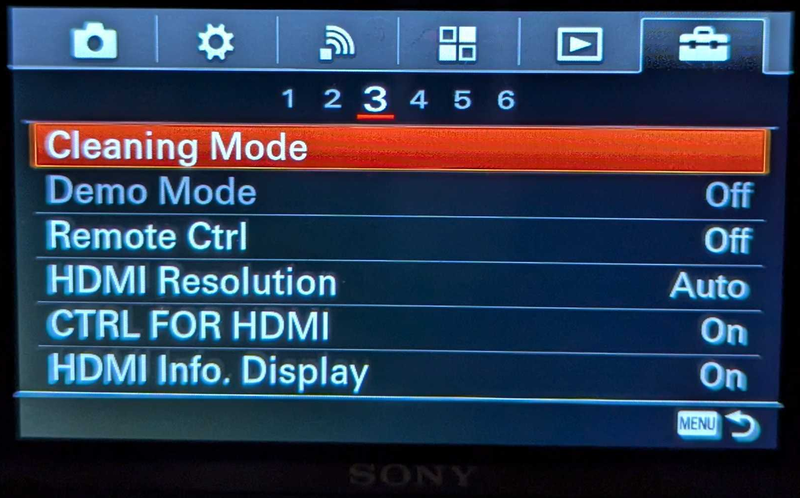
Second Attempt: Dust Blower with Auto Image Sensor Clean Mode
Not satisfied with the partial success, I decided to combine the dust blower with the camera’s built-in sensor cleaning feature.
Steps:
- Activate Auto Image Sensor Clean Mode: The Sony A6000 has an auto sensor cleaning mode that vibrates the sensor to shake off dust. This can be activated through the camera menu.
- Repeat the Dust Blower Process: After running the sensor clean mode, I again used the dust blower, holding the camera with the sensor facing down.
Result:
This combination improved the situation slightly more, but some persistent spots were still visible in my test shots. It was clear that the remaining debris required more intensive cleaning.

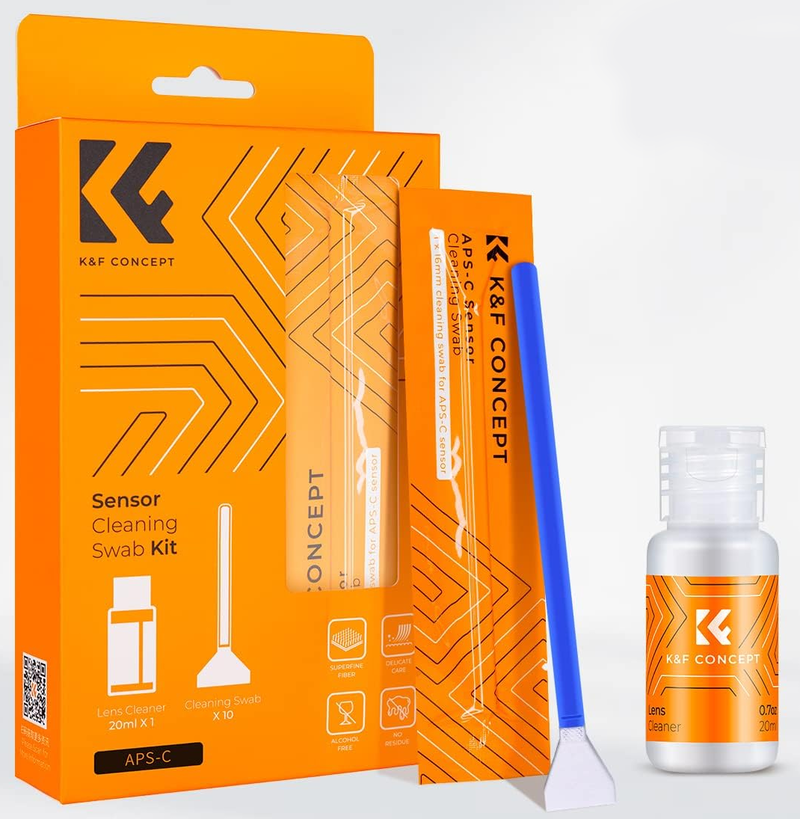
Final Attempt: Using a Sensor Cleaning Kit
For the final cleaning attempt, I turned to a sensor cleaning kit, which included cleaning liquid and specialized swabs designed for camera sensors.
Steps:
- Prepare the Cleaning Kit: The kit typically includes a bottle of sensor cleaning solution and a few sensor swabs.
- Apply Cleaning Liquid: Following the kit’s instructions, I applied a couple of drops of the cleaning liquid onto a swab.
- Swab the Sensor: Holding the camera with the sensor facing up, I gently swiped the swab across the sensor surface, moving in one direction. I used a new swab for a second pass, moving in the opposite direction to ensure thorough cleaning.
- Let the Sensor Dry: I allowed the sensor to dry for a few minutes before reattaching the lens.
Result:
After this deep cleaning, I took additional test shots and was delighted to find that the sensor was spotless. The remaining spots had been successfully removed, and the image quality was restored to its pristine condition.

Conclusion
Cleaning the sensor of a camera can be a daunting task, especially when you’re dealing with sensitive equipment like the Sony A6000. However, by starting with simple methods like using a dust blower and progressing to more intensive solutions like a sensor cleaning kit, it’s possible to effectively remove dust and debris. This experience taught me the importance of regular maintenance to keep my gear in optimal condition, ensuring that I capture the best possible images.
For anyone facing similar issues, I recommend starting with non-invasive methods and only using a sensor cleaning kit as a last resort. And, of course, always handle your camera with care to avoid accidental damage to the sensor. Happy shooting!